This page diaries our 2017 project to set up a Mobile Poultry unit for organic poultry production unit at New House Farm in Acton.
Step 1. Find suitable land.
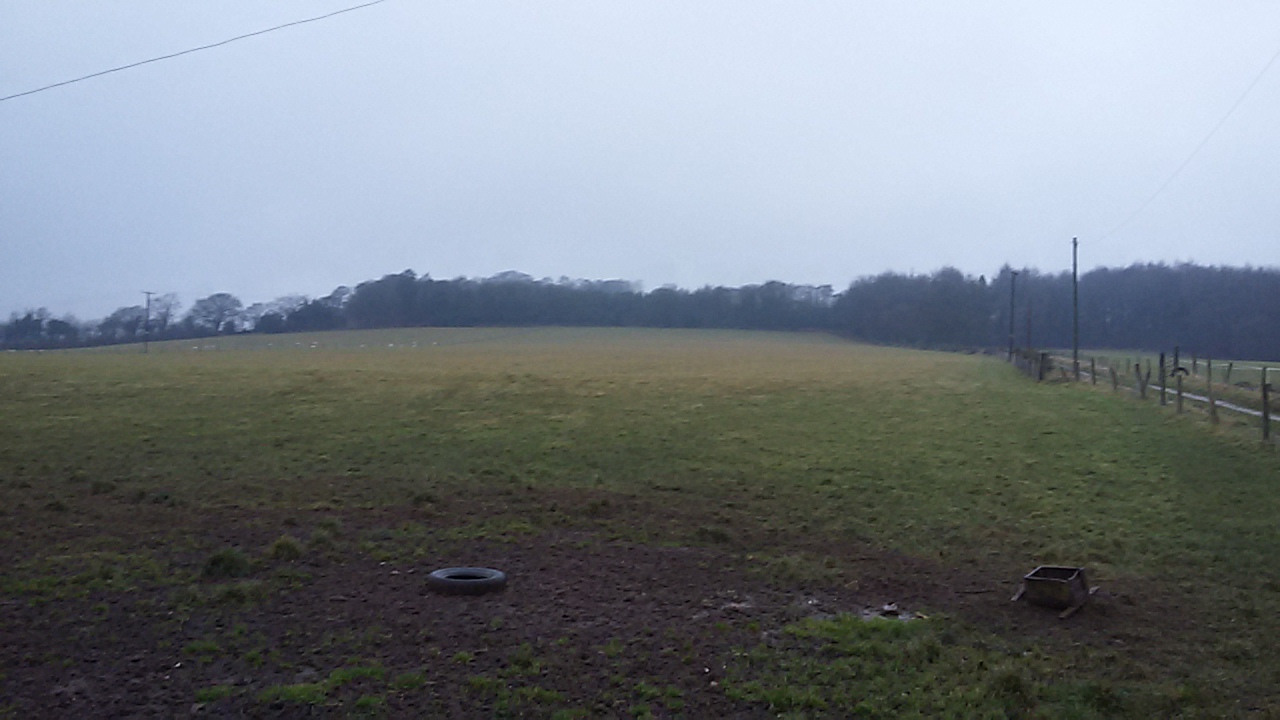
This is where we will set up. It’s a perfect site for poultry production. It is south facing (hence warmer), has sandy soil (hence well draining) and it has been certified as organic for over 15 years.
Step 2 – Build the first Mobile Poultry Unit
The conventional poultry production systems utilise synthetic pesticides and chemicals to prevent parasites building up in the soil. Clearly we are unable to do that in organic farming. So we will build mobile chicken sheds that we can move around the field. Effectively rotating the pasture, this prevents parasites (such as harmful worms) building up in the soil and it also ensures that the chickens always have plenty of vegetation to graze on as the pasture is given time to recover before it is reused. None of the land will be used for more than a third of the year.
Frame
We decided to design and build our own polytunnel type mobile poultry unit using as many recycled components as we could.
The mobile unit needed to be insulated, not just to keep the chickens warm in the cold winter weather, but to ensure that condensation did not form on the inside and create a rainforest type micro-climate inside and to insulate it from the summer sun, so that the birds do not overheat.
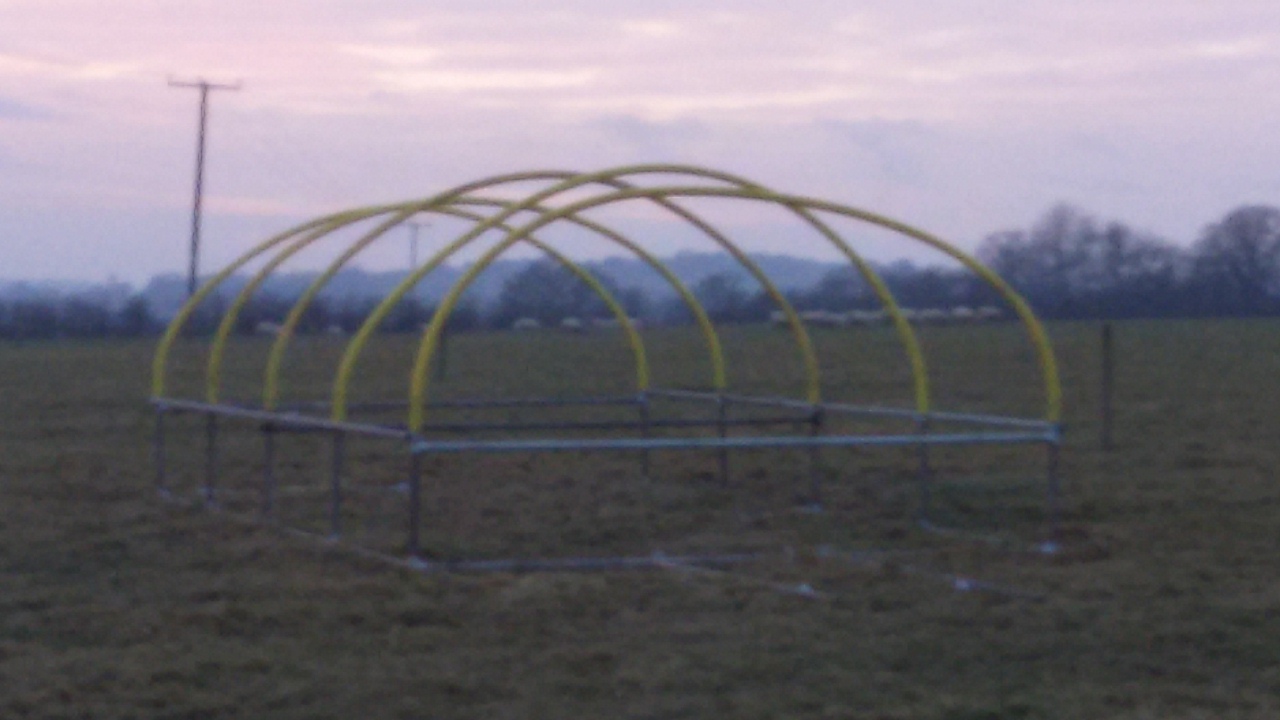

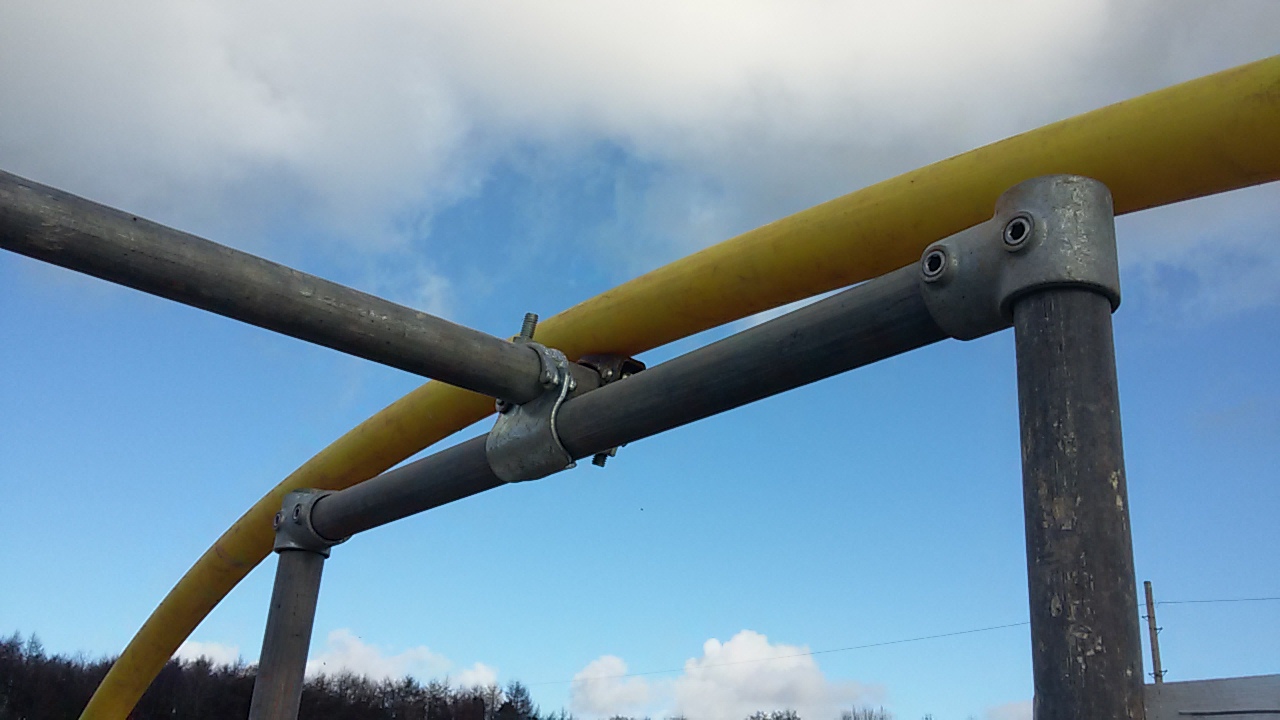
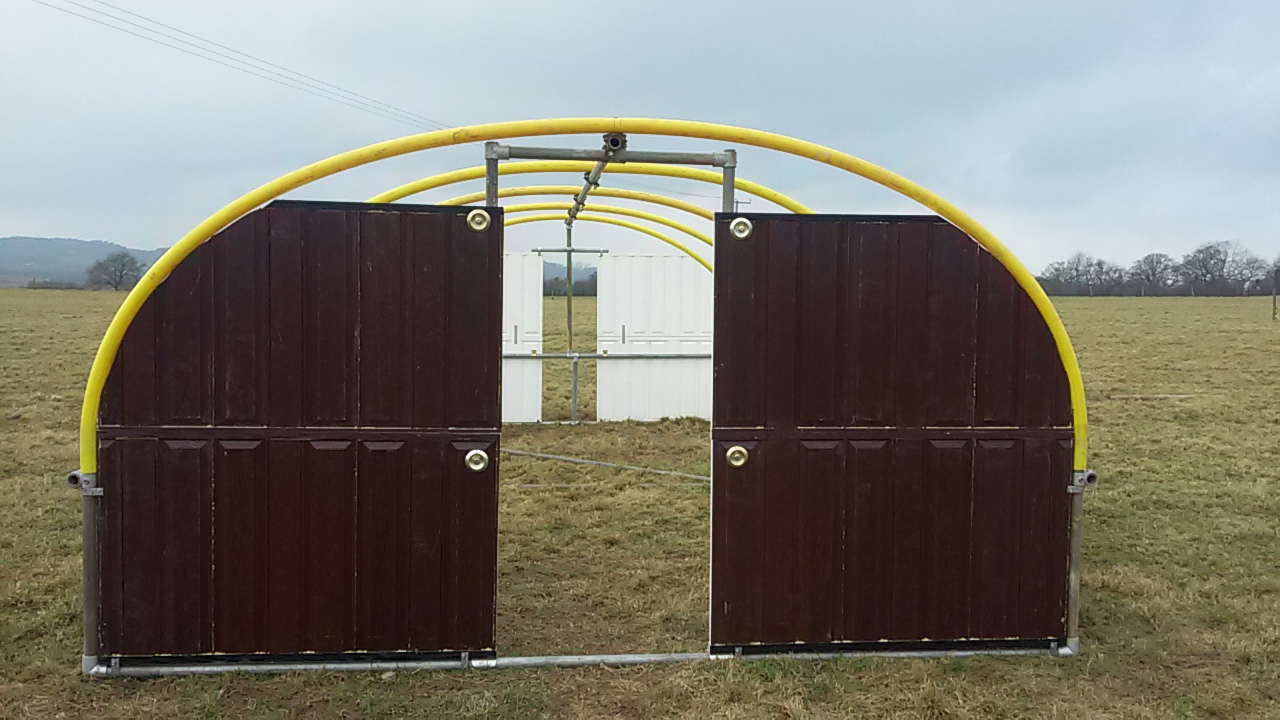
First we made the frame, using second hand scaffold tube, fastened together with Key Clamps and forged scaffold fittings. For the hoops I used recycled 62mm MDPE gas pipe, which is exactly the right size to slide over the scaffold tube.
The side panels, end panels and doors are made from fibreglass skinned polyurethane foam. Once again this is recycled, the panels came from a door manufacturer, they are the window cutouts from exterior doors glued together using polyurethane glue. The panels would otherwise have gone to landfill if not reused for this project. I must give great thanks to Paul Ridley for developing reuse of these panels for shelter construction. The panels I chose are discrete brown, black and green on the outside and white on the inside to reflect the light.
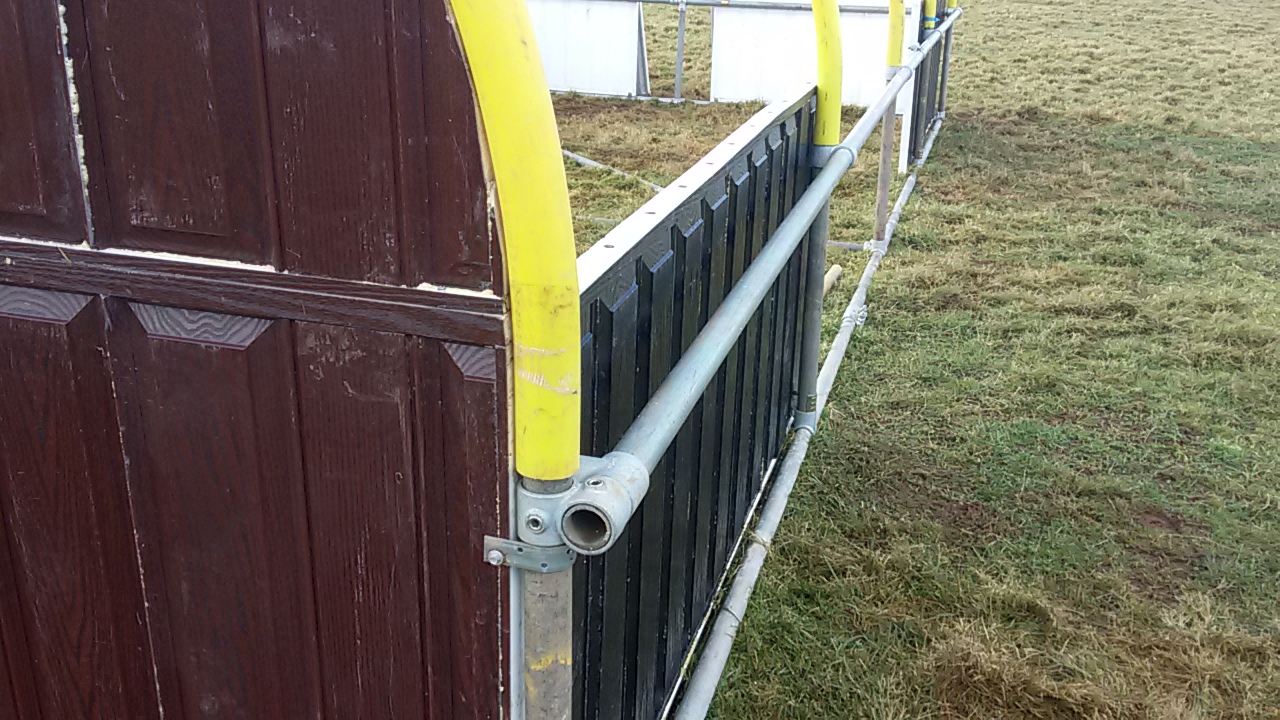
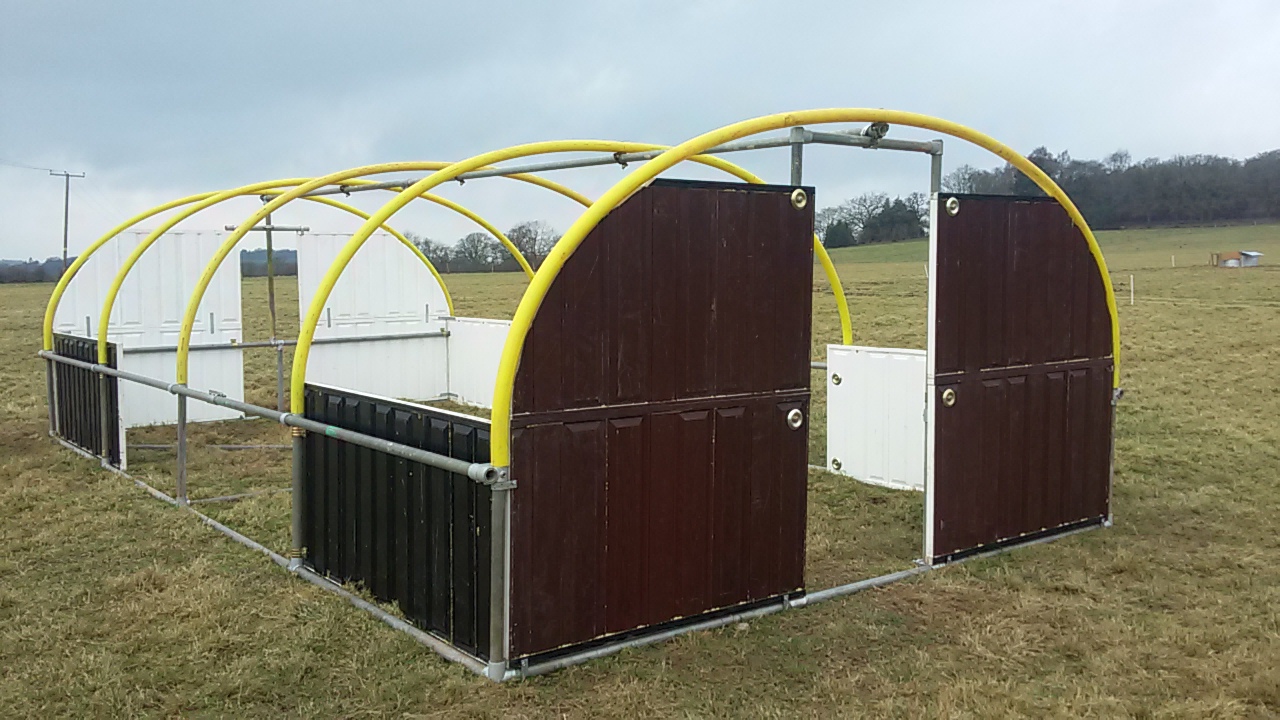
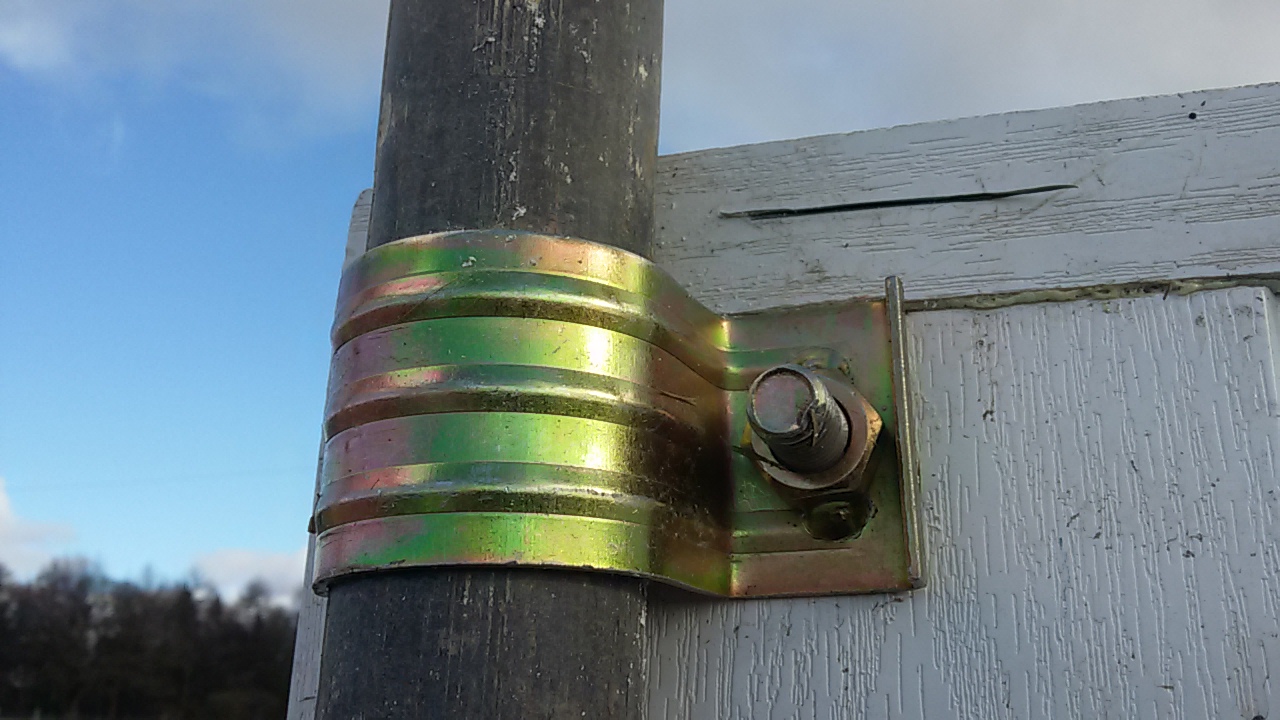
The panels are clamped to the frame using limpet clamps (usually used to clamp scaffold boards to tube) and builders restraint straps.
The Cover
The roof has 3 layers, on the inside is a sheet of Mushroom cover polythene, this is a triple layer black-out material, white on the inside to reflect the light and green on the outside. The middle layer is 100mm fibreglass insulation which sits in layflat polythene tubing to keep it in place. The top layer is another layer of mushroom cover, with the discrete green colour on the outside.
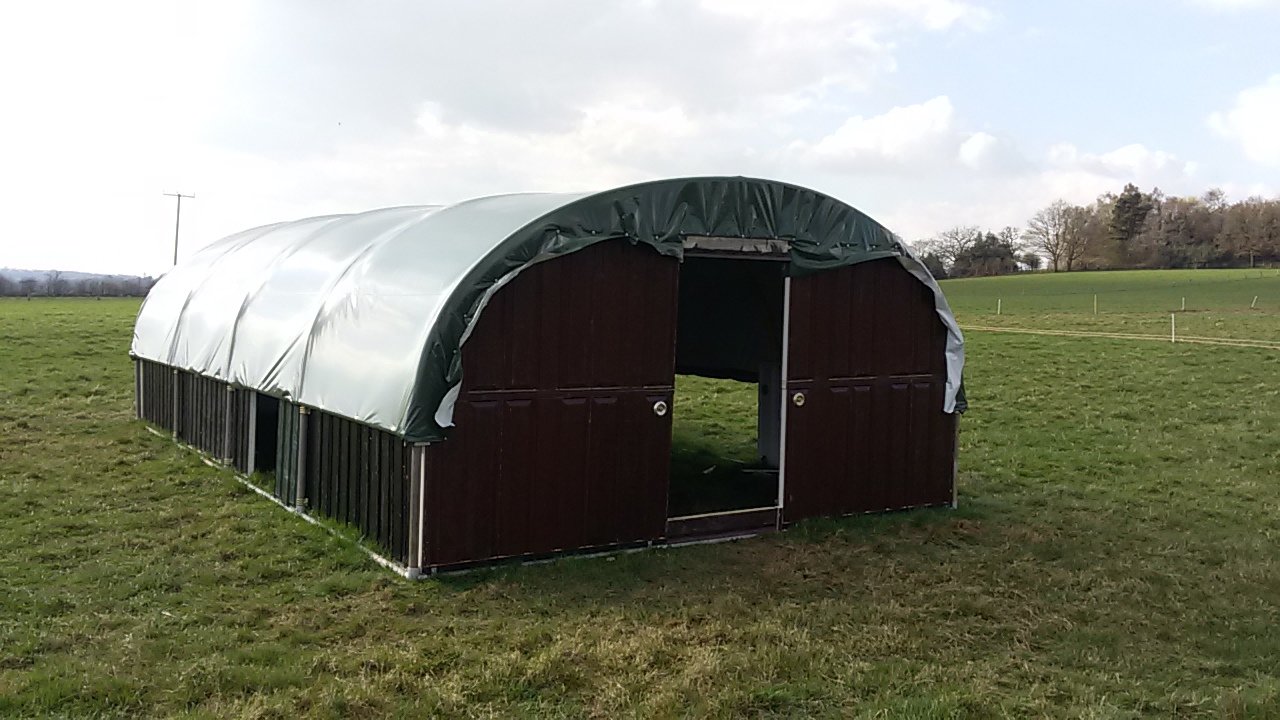

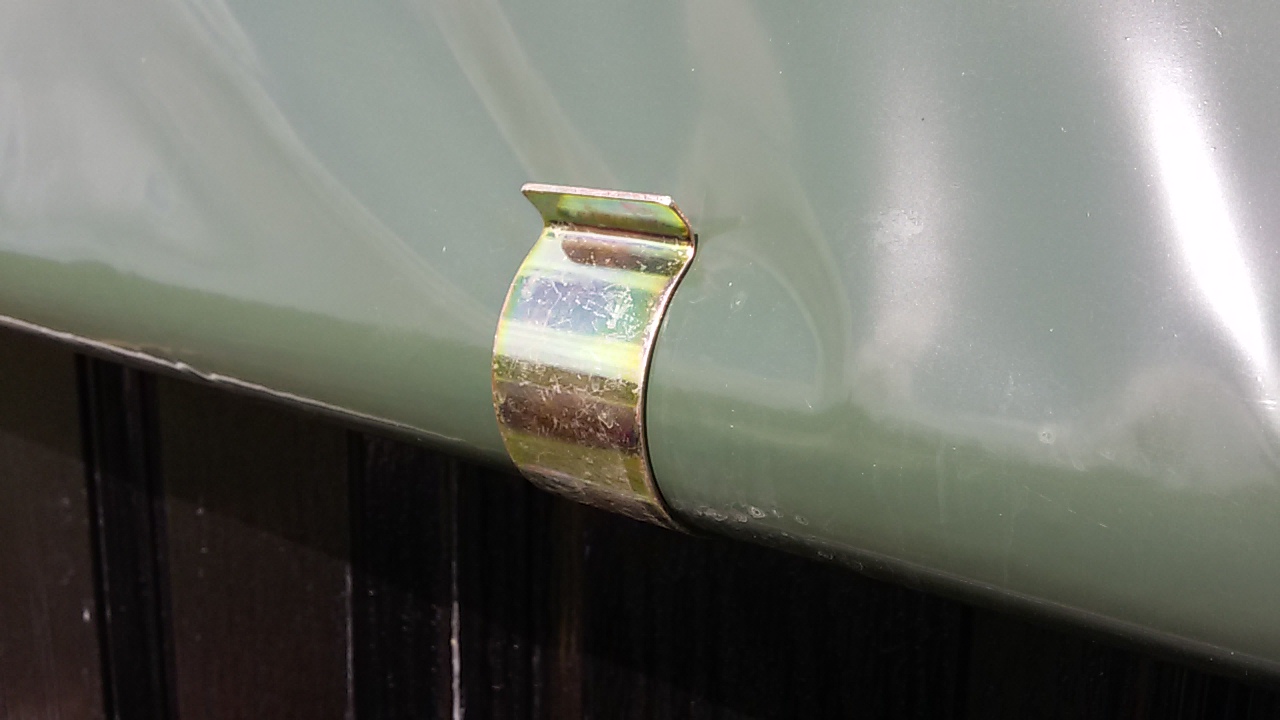
All 3 layers of the roof are clipped onto the scaffold tube side rails using omega clips. These are usually used to fasten shrink wrap sheeting to scaffolding. They are expensive for what they are, but do the job perfectly.
 The shed will need to be moved onto new pasture every 3 months, so as soon as the frame and first layer of the roof were built, we put some wheels under it, hooked it up to the tractor and took it for a short test drive, just the make sure everything was strong enough to withstand a move. Much to my surprise nothing broke.
The insulation is added.

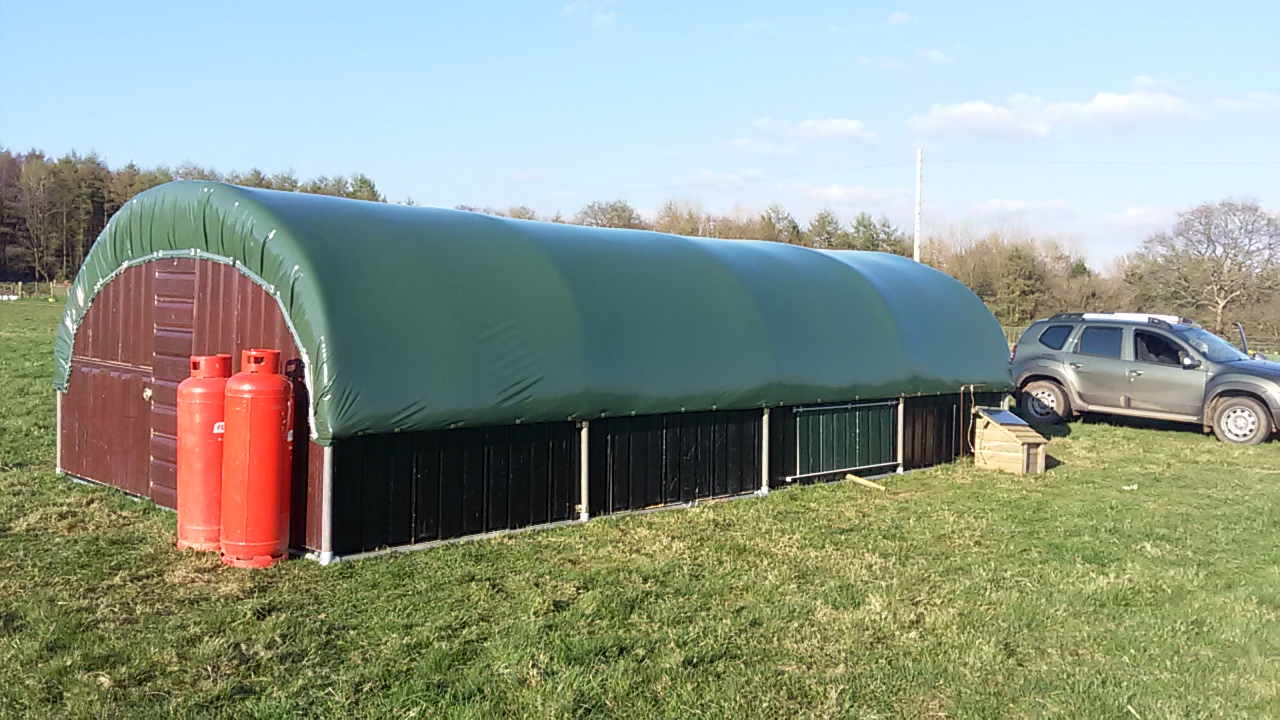
And then the top cover.
Step 3 – Add the interior fittings
Brooder Heater
The broilers will spend their whole life in the same poultry house so that they don’t get stressed by being rehoused. This is best for the their health. For the first 4 weeks they will stay indoors under a heat lamp and the temperature will be gradually reduced. By 4 weeks they’ll have daytime access to the outdoor range.
We will use a thermostatically controlled Propane powered infrared spot heater to keep them warm.
Lighting
The chicks will perform best if they have long hours of light over the first few days. So we fitted a solar powered LED lamp.
Feeders
The chicks eat crumb off the floor for the first 3 days but after that they’ll eat from the tube feeders suspended from the ceiling.
Drinkers
The Chickens will drink from suspended nipple lines which are raised as the chickens grow. These drinkers are designed so that the birds cannot perch on them. They also swing about a bit to keep the chickens entertained.
The drinkers are automatically filled from an elevated tank outside the house.
Perches and Straw Bales.
The birds like to climb onto things. So perches and straw bales help to occupy them so that they are less likely to peck one another. The straw bales also give them something to nibble at occasionally.
Bedding
The floor of the house is covered with a layer of chopped straw. we used a combination of wheat straw and Miscanthus grass straw.
Fence the Range
The free range outdoor area needs to be secure, to keep the chickens in and the predators out. We’ll move the poultry unit onto new pasture every 3 months. We will use electrified Flexi-net which is easy to move. The energiser is powered by a solar charged battery.